Related Articles

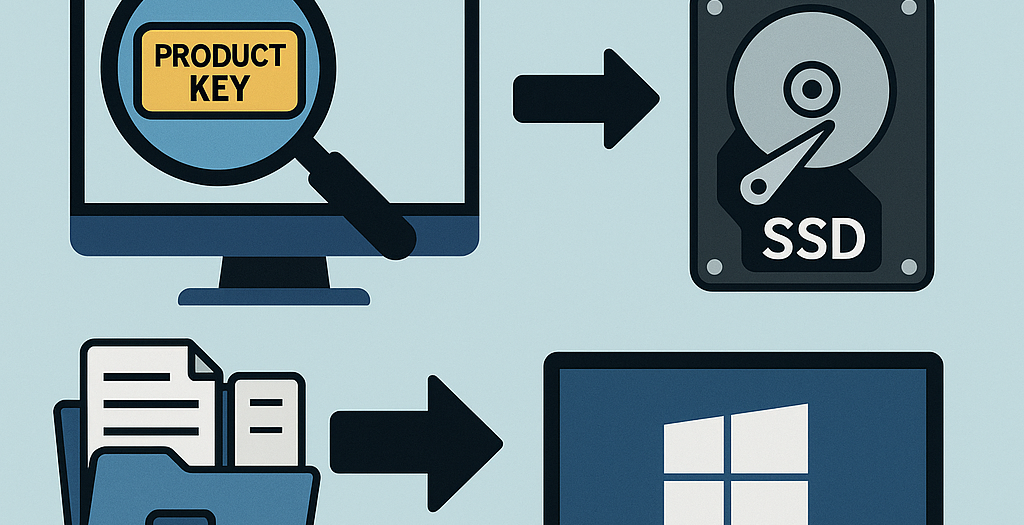
Upgrading from a traditional Hard Disk Drive (HDD) to a Solid State Drive (SSD) is one of the most impactful upgrades you can make to significantly boost your computer’s performance. However, before you swap out your old drive, you’ll need to know how to find your Windows product key and then migrate your existing operating system and data to the new SSD. This guide will walk you through both processes.
Part 1: How to Find Your Windows Product Key
Knowing your Windows product key is crucial, especially if you plan a clean installation on your new SSD. Here are several reliable ways to find it:
1. Check for a Physical Product Key Sticker
If you purchased a retail copy of Windows, your product key might be on a sticker inside the packaging or on a card. For pre-built computers, the key is often on a sticker attached to the PC tower or laptop itself.
2. Using Command Prompt (Admin)
This is a quick and effective method that doesn’t require any third-party software.
- Open the Start Menu, type “cmd,” right-click on “Command Prompt,” and select “Run as administrator.”
- In the Command Prompt window, type the following command and press Enter:
wmic path softwareLicensingService get OA3xOriginalProductKey - Your Windows product key should then be displayed.
3. Using PowerShell (Admin)
Similar to Command Prompt, PowerShell offers another built-in way to retrieve your key.
- Open the Start Menu, type “powershell,” right-click on “Windows PowerShell,” and select “Run as administrator.”
- In the PowerShell window, type the following command and press Enter:
(Get-WmiObject -query 'select * from SoftwareLicensingService').OA3xOriginalProductKey - The product key will appear in the output.
4. Checking the Windows Registry
While a bit more involved, you can sometimes find a backup of your product key in the Registry Editor.
- Press
Win + R, type “regedit,” and press Enter. - Navigate to the following path:
HKEY_LOCAL_MACHINE\SOFTWARE\Microsoft\Windows NT\CurrentVersion\SoftwareProtectionPlatform - Look for an entry named “BackupProductKeyDefault” on the right pane. Its value might be your product key.
5. Digital License or Email Confirmation
If you purchased Windows digitally from the Microsoft Store, your product key might be in your confirmation email. For Windows 10/11 upgrades, you likely have a digital license tied to your Microsoft account, meaning you often don’t need a physical product key for reinstallation on the same hardware.
6. Using Third-Party Key Finder Applications
While the built-in methods are generally preferred for security, several third-party applications can help you find product keys for Windows and other installed software. Popular options include Magical Jelly Bean Keyfinder, ProduKey, and Belarc Advisor.
A word of caution: When using third-party tools, always download them from reputable sources to avoid malware or adware.
Part 2: How to Migrate Windows to Your New SSD
Once you’ve secured your product key, it’s time to move Windows to your new SSD. You have two primary options:
Option 1: Cloning Your Existing HDD to the SSD
Cloning creates an exact copy of your HDD, including the operating system, applications, settings, and files, directly onto your SSD. This is generally the easier option if you want to keep everything as is.
- Install the SSD: First, safely install the new SSD into your computer. Most desktops have extra drive bays, while laptops might require an external USB enclosure for the SSD if you can’t install it internally alongside the HDD.
- Initialize the SSD: If it’s a brand new SSD, you might need to initialize it in Disk Management before your system recognizes it.
- Choose Cloning Software: You’ll need third-party cloning software. Popular choices include Acronis True Image, Macrium Reflect (Free Edition often available), EaseUS Todo Backup, or MiniTool Partition Wizard. Many SSD manufacturers also provide their own cloning tools.
- Start the Cloning Process:
- Launch your chosen cloning software.
- Select your current HDD as the source disk.
- Select your new SSD as the destination disk.
- Follow the on-screen instructions to begin the cloning. This process can take a while depending on the amount of data.
- Boot from SSD: Once cloning is complete, shut down your computer. It’s often best to disconnect the old HDD and ensure only the new SSD is connected to confirm your system boots from it. If it boots successfully, you can reconnect the old HDD and format it for extra storage if you wish.
Important Note: Your SSD’s capacity must be equal to or larger than the used space on your HDD, not necessarily the total HDD size.
Option 2: Performing a Clean Installation of Windows on the SSD
A clean installation means wiping your old HDD (or leaving it as is for data) and installing a fresh copy of Windows onto the new SSD. This can lead to better performance and a cleaner system, free from old software clutter.
- Create Bootable Media: Download the Windows Media Creation Tool from Microsoft’s official website. Use it to create a bootable USB drive or DVD with the Windows installation files.
- Install the SSD: Safely install your new SSD into your computer.
- Boot from USB: Restart your computer and access your BIOS/UEFI settings (usually by pressing Del, F2, F10, or F12 during startup). Change the boot order to prioritize your USB drive.
- Install Windows:
- Save changes and exit BIOS/UEFI. Your computer will boot from the USB.
- Follow the Windows setup wizard. When prompted to choose an installation type, select “Custom: Install Windows only (advanced).”
- Select your new SSD as the destination for the Windows installation. If prompted for a product key, enter the one you found earlier, or select “I don’t have a product key” if you have a digital license.
- Complete the installation.
- Install Drivers and Software: After installation, install necessary drivers (especially for your graphics card, chipset, and any other peripherals) and your preferred applications.
- Transfer Data: Copy any essential personal files from your old HDD (if still connected) to your new SSD.
Final Considerations:
- Backup Your Data: Regardless of the method you choose, always back up your critical data before starting any migration or installation process. Better safe than sorry!
- Performance Benefits: You’ll notice a significant speed improvement with an SSD. Windows will boot faster, applications will load quicker, and overall system responsiveness will be much better.