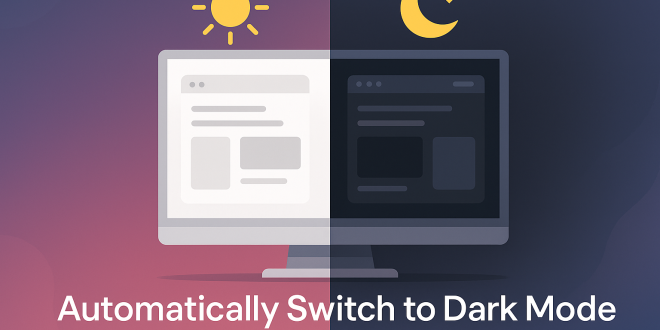
How to Change Computer Display to Dark Mode Automatically
Introduction
Dark mode has become increasingly popular for its ability to reduce eye strain, save battery life on portable devices, and provide a sleek, modern look. Instead of manually switching between light and dark themes, you can automate this process based on your preferences, schedule, or even sunset/sunrise times. Here’s how you can enable automatic dark mode on Windows, macOS, and even Linux.
Why Use Automatic Dark Mode?
- Reduces eye strain during low-light conditions.
- Improves battery life on OLED/AMOLED screens.
- Modern, comfortable interface for night-time use.
- Set-and-forget: No need to remember to toggle modes every day.
Windows 10/11: Schedule Dark Mode Automatically
Windows doesn’t include built-in scheduling for dark mode as of Windows 10, but Windows 11 offers more flexibility. However, both versions can be automated with third-party apps or simple scripts.
Method 1: Use “Auto Dark Mode” (Recommended)
Auto Dark Mode is a popular free tool that lets you schedule dark and light themes on Windows.
- Download “Auto Dark Mode” from GitHub.
- Install and open the application.
- Set your preferred times for switching between Light and Dark modes, or choose automatic switching based on sunset/sunrise.
- Optionally, configure app-specific or wallpaper changes.
Benefits: Simple GUI, no technical setup required. Works reliably on Windows 10 and 11.
Method 2: Use Windows 11 Built-in Settings
- Go to Settings > Personalization > Colors.
- Set “Choose your mode” to “Custom.”
- Choose different modes for Windows and apps as desired.
- (To automate further, use “Auto Dark Mode” as above.)
Method 3: Use Task Scheduler (Advanced)
If you prefer not to use third-party apps, you can use Task Scheduler with PowerShell commands.
- Open Task Scheduler and create two basic tasks:
- Switch to Dark Mode:
- Trigger: At sunset (or custom time)
- Action: Run PowerShell with this command:
New-ItemProperty -Path HKCU:\Software\Microsoft\Windows\CurrentVersion\Themes\Personalize -Name AppsUseLightTheme -Value 0 -Type DWord -Force
- Switch to Light Mode:
- Trigger: At sunrise (or custom time)
- Action: Run PowerShell with this command:
New-ItemProperty -Path HKCU:\Software\Microsoft\Windows\CurrentVersion\Themes\Personalize -Name AppsUseLightTheme -Value 1 -Type DWord -Force
- Switch to Dark Mode:
- Save and test your tasks.
Note: You might need to log off and on, or restart Explorer, for the change to fully apply.
macOS: Automatic Dark Mode
macOS makes this simple with a built-in feature.
How to Enable
- Go to System Settings (or “System Preferences” on older versions).
- Click Appearance.
- Select Auto under “Appearance.”
Your Mac will automatically switch between Light and Dark modes based on your local sunrise and sunset times.
Bonus: Use the Night Shift feature to reduce blue light during the evening for even more comfort.
Linux: Automatic Dark Mode
Linux desktops (such as GNOME, KDE Plasma) may require an extension or third-party tool.
GNOME (Ubuntu, Fedora, etc.)
- Use the Night Theme Switcher extension.
- Install it from the GNOME Extensions website.
- Set a schedule or sync with sunrise/sunset.
KDE Plasma
- Go to System Settings > Appearance > Global Theme.
- Some themes allow scheduled switching, or use a script via KDE Autostart.
Bonus: Browser & App Support
Many browsers and popular apps follow your system’s dark mode setting automatically.
If not, look for a “theme” or “appearance” option in the app’s settings.
Final Thoughts
Automatic dark mode is an easy way to keep your devices comfortable for your eyes, day or night. Whether you use built-in options, free utilities, or advanced scripts, setting up automatic switching only takes a few minutes but pays off in everyday comfort.
Have you tried automating dark mode? Share your experience or favorite tools in the comments!
For more tech tips, how-tos, and tutorials, stay tuned to our blog!
 Tech Solution Simplifying Technology for You
