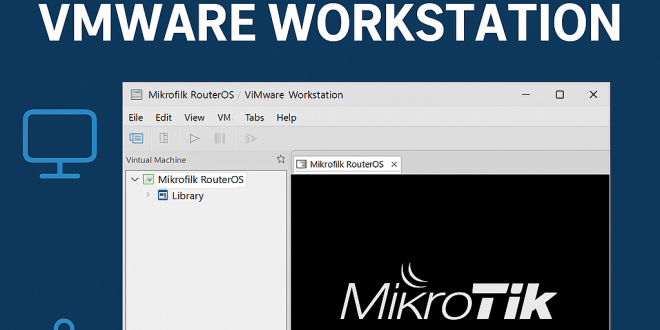
MikroTik RouterOS is an advanced and highly flexible network operating system, ideal for network professionals and learners alike. Running MikroTik virtually allows you to explore its robust capabilities safely and efficiently. Here’s how to install MikroTik RouterOS using VMware Workstation:
Step 1: Download MikroTik RouterOS
- Visit the MikroTik download page.
- Select the architecture “x86 (ISO image)”.
- Download the latest stable ISO file.
Step 2: Create a New Virtual Machine in VMware Workstation
- Open VMware Workstation and select File > New Virtual Machine.
- Choose Custom (advanced), and click Next.
- Select your preferred hardware compatibility and click Next.
- Choose “I will install the operating system later” and click Next.
- Select “Other” and choose “Other 64-bit”, then click Next.
- Name your virtual machine (e.g., MikroTik-RouterOS), choose the location, and click Next.
- Set disk type as IDE (recommended for compatibility), and click Next.
- Set CPU configuration (typically 1 CPU with 1 core is sufficient), then click Next.
- Assign at least 256 MB (recommended 512 MB) of RAM, then click Next.
- Choose the network connection type (typically Bridged) to allow direct network access, click Next.
- Select LSI Logic (Recommended) for the I/O Controller and click Next.
- Again choose IDE for disk type and click Next.
- Select Create a new virtual disk, click Next, and set disk size (512 MB to 1 GB is sufficient). Choose “Store virtual disk as a single file” and click Next.
- Confirm your disk file location and click Next, review settings, then click Finish.
Step 3: Configure VMware to Boot from MikroTik ISO
- Right-click your virtual machine and select Settings.
- Click on CD/DVD (IDE), select “Use ISO image file”, then browse and select the downloaded MikroTik RouterOS ISO file.
- Make sure “Connect at power on” is checked, then click OK.
Step 4: Install MikroTik RouterOS
- Power on your virtual machine.
- When the MikroTik installer appears, press “a” to select all available packages.
- Press “i” to start installation.
- Confirm by pressing “y”.
- After installation completes, press Enter to reboot.
Step 5: Post Installation Configuration
Once rebooted, log in with default credentials:
- Username: admin
- Password: (leave blank, press Enter)
Step 6: Licensing and Activation (Optional)
MikroTik RouterOS offers a full 24-hour trial. For longer-term use, obtain a free Level 1 license or purchase an upgraded license from MikroTik.
Step 7: Accessing MikroTik Router
You can manage RouterOS via:
- WinBox (graphical utility)
- Web Interface (default IP 192.168.88.1)
- SSH/Telnet
Step 8: Network Configuration
You may configure the VMware network adapter to match your specific networking scenario:
- NAT for isolated networks with internet access
- Bridged for direct network connections
Your virtual MikroTik RouterOS is now ready to use. Enjoy exploring the robust networking possibilities!